My Blog List

Showing posts with label Tutorial. Show all posts

Friday, September 2, 2011

How to Make a Gift Bag

It was not my idea to make my own gift bags - I was inspired by a blogpost I had read the other day. As I have got piles of back National Geographics copies and  can´t discard them because of interesting articles and beautiful photos, I decided to use them in a new way. After  some failed attempts  I managed it a last and will now share my know-how with  you.
My friends favorite  colour is orange so I chose  a satelite image of  the Sun.

1. Choose a suitable photo and if necessary  paste carefully severel parts together to obtain the needed  size.


2. On the back side draw the design of the future bag. The measurements  depend of the  purpose.


Beginn from the  middle line. My sheet was 34 cm wide. On each side  from the middle line I measured 6,3 -1,5 - 1,5 cm an drew 6 vertical lines to the  top and one horizontal line 3 cm from the bottom.


3. Fold the paper along the lines and on the bottom side cut out  four pinching trianglss 3 cm high.


4. Paste the  back side.


5. Form the button and paste the parts together.


6. Trim in shape the top of the gift bag.


All you have to do now is to put the special gift for your special friend in your special gift bag.

Sunday, August 14, 2011

How to Make a Bread Sleave / Basket

What you need is: two matching fabrics, thread, padding and temporary adhesiv.


The patern consists of a circle (mine circle had a diameter of 20 cm/8,9" and a rectangle. The short side od the rectangle corresponds with the hight od the future sleeve and the lenght with the product: diameter x 3,14. In my case 28cm x 62,8 cm /10,8" x 25,12"

Cut the fabrics and the padding, temporary more broadly, past the three layers (fabric, padding, fabric) with the adhesive and quilt it.


When finished with quilting cut the two parts in definitive form.


On the shorter side of the rectangle cut out the padding cca 1,5 cm and sew on mashine one layer of fabric.


Sew by hand the other layer. So, the cylinder for the sleeve is ready.


Fasten the circle to the cylinder first with pins and then stitch them.


Sew the seam on the mashine includig a bias-cut strip. Turn the stip and sew  it by hand on the other side.


On the open side if the cylinder sew a strip of one of the fabrics and turn it down.


That´s my bread sleeve at home - in Zagreb.


And it looks like this turnd on the other side. I had a remnant of the florial fabric and made a sandwich bag out of it.

Thursday, June 23, 2011

Create your personal business card

I´m new in business and till now I had no need for business cards. After tomorrw I would like to make a gift, a bag from my shop, and there would be no harm if I include a business card.  - Just in case!  - How can I get cards in such a short time? - Merely by makig them by myself. So think, Dunja, think! Be creative!  And -  Hop! - I figured it up. You can make yours the same way a did mine:

1. You need card paper (I used a wall calender sheet) and


2. Write on your computer the text you want on your card and  print it.


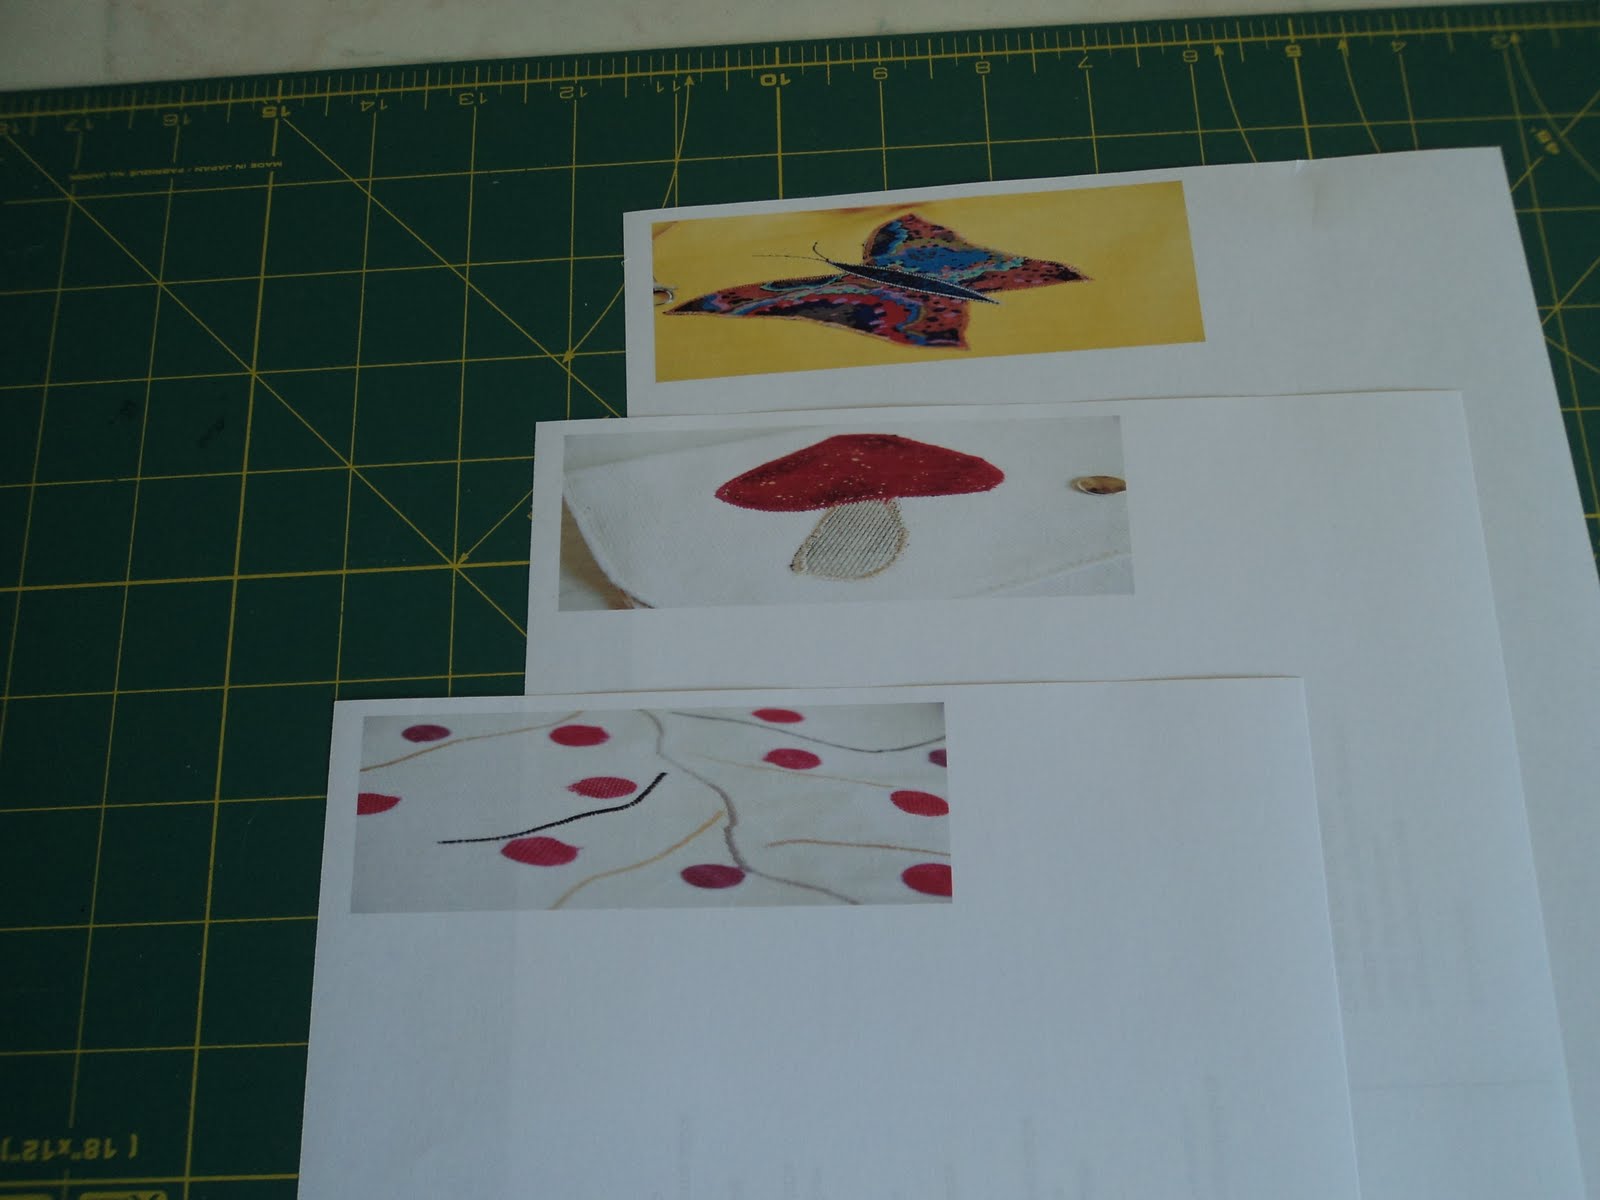
3. Choose pictures from your computer and print them in the size you prefer. My size was 3" X 1,5"


4. Cut the pictures and the text sheet out.


5. Adjust the length and the width of both sides an stick them together.


6. Now the only think to do is to cut the cards in final form and it´s done.


Easy, cheap, unique, and BEAUTIFUL!  Isn´t it?

Friday, June 3, 2011

How I´ve got fish to swim on my bag?

It´s almost every day that I wake up at dawn with the first birds singing in our garden. Still in half-sleep i try to check up my programm for the day. This and that has to be done ... And than a new idea hits me - Let sew a bag with fish! What kind of fish? What kind of bag? If I make the bag I´ll have to  postpone other tasks. Never mind, I like the fish-idea. Now hury, get up! The idea could have been forgoten in one hour time.

How does it start?
First look through all the places where fabrics, buttons, threads, ..... are stored
and heap them up. Quite a mass, isn´t it. Now select fabrics that fit best.

 These would be fine for the fish. As basic fabric I´m going to use white cotton.


 Parts of the bag are cut up: the body, pockets, straps


 and fish are ready to be appliqued.  May be some buttons ond pendants could be nice as decoration? I habe bought them recently from my friends shops, SandArts and craftzee.


 Here, the pockets are almost ready! But what would be better - like this


 or better this way?

Yes, that´s better. Now the only thing  I had to do was to sew the parts together. And here it is! Voilá! 


Was it easy to make it? Yes and no. It took  all together about three or four hours but it made fun.